Quality inspection and control can be a pain. Visually searching for small scratches or debris, only to have to get a ruler to see if the marks pass quality standards specifications, can feel tedious at best and downright annoying at worst.
Honestly, why should it? Why is it so hard? We’ll let you in on a secret: Visual inspection can be simplified with one little tool: an inspection gauge. Get ready – we’re about to change the way you do QC.
What are inspection gauges?
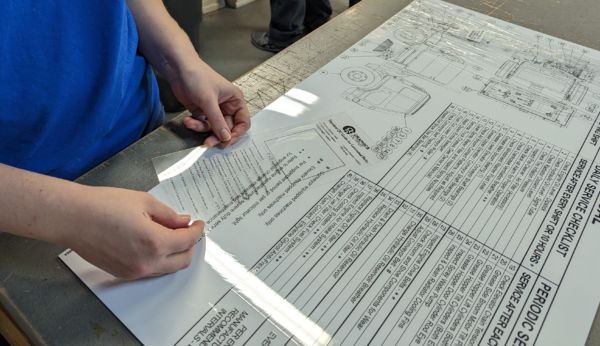
Visual inspection gauges, also known as appearance standard gauges and quality control gauges, are clear templates used to identify visual defects in glass, paint, clear coats, and lamination. They often measure points and millimeters (mm) but can be customized for your shop’s needs. They make quick work of inspection, provide convenient and effective measurement, and simplify and standardize the QC process. Save time and say goodbye to answering the same questions every day: Does this look okay? Does this pass inspection?
Different Types of Inspection Gauges
While plenty of quality reference tools are found across a variety of industries, visual flaw detection cards can be grouped into three main categories.
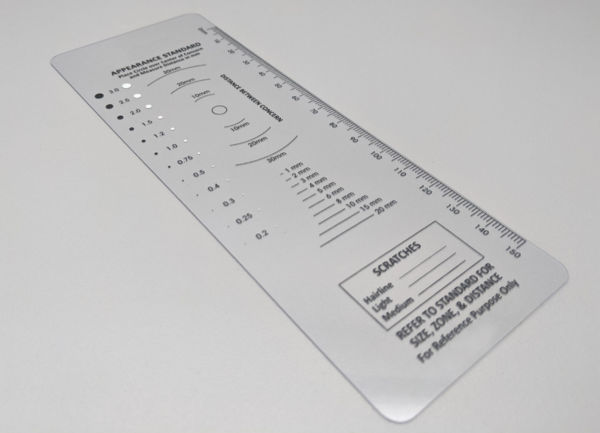
1. Appearance standard cards are commonly used in the manufacturing industry to inspect glass and paint. They’re used to efficiently identify and estimate the size of defects and scratches. These cards can be used with products on assembly lines and in final inspection stages.
2. Crack comparator gauges are commonly used in the manufacturing industry to inspect glass and paint. They’re used to efficiently identify and estimate the size of defects and scratches. These cards can be used with products on assembly lines and in final inspection stages. measure cracks in new and existing concrete and masonry structures. They’re an ideal, low-cost alternative to a graduated microscope for inspectors.
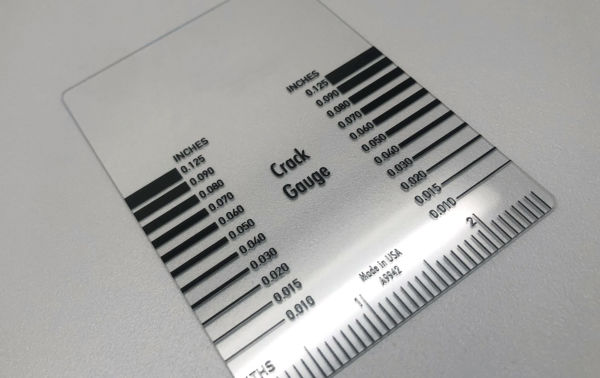
3. Printed graphic inspection gauges identify and measure defects in printed or laminated graphics. The most common defects include pinholes in printed ink and debris caught under clear overlaminate or in screen-printed clear coats.
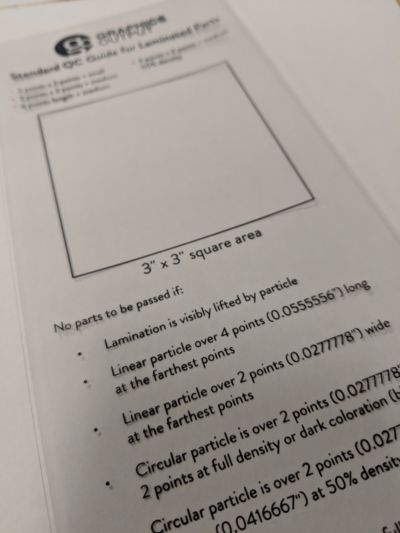
How to Design the Perfect Inspection Tool for Your Team
The best gauges are tailor-made for your industry and can even be designed to meet your specific needs. Here are some things to consider when designing your custom defect gauge:
- Rulers with relevant measurement systems and units, such as millimeters vs. inches.
- Defect measurement circles, labeled in millimeters or point sizes, in relevant colors, based on how the gauge will be used. For example, will you use the gauge against a light or dark background? Depending on the answer, select white, black, or clear defect measurement circles.
- measurement circles.
- Density/intensity/thickness references, such as light, medium, or dark.
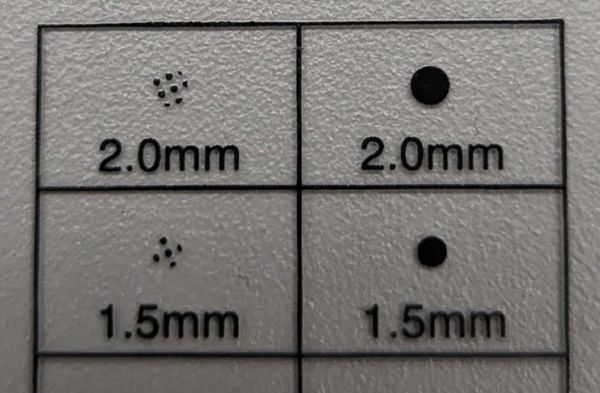
Some defects are more obvious than others, and a density reference chart like this one can help you visualize what is acceptable and what isn’t.
- Radius guides for the distance between defects or for counting the number of defects in a specific-sized area.
- Lines of specific lengths.
- A basic outline of how to use the gauge.
- Criteria for acceptable defects, or reference to a set of quality standards. Check out our blog post for more help defining these standards.
1st surface printing occurs when ink is printed on top of the material, and 2nd surface printing, also known as subsurface printing, occurs when ink is printed on the back of the material.
Save yourself the headache of dutifully whipping out a ruler to measure every tiny scratch ever again. Inspection gauges are the perfect reference tools for QC departments, and branded ones can even double as promotional items.
Ready to change the lives of your QC team by designing a sweet custom gauge? Drop us a line at sales@gographicsoutput.com or (260) 748-0577.

